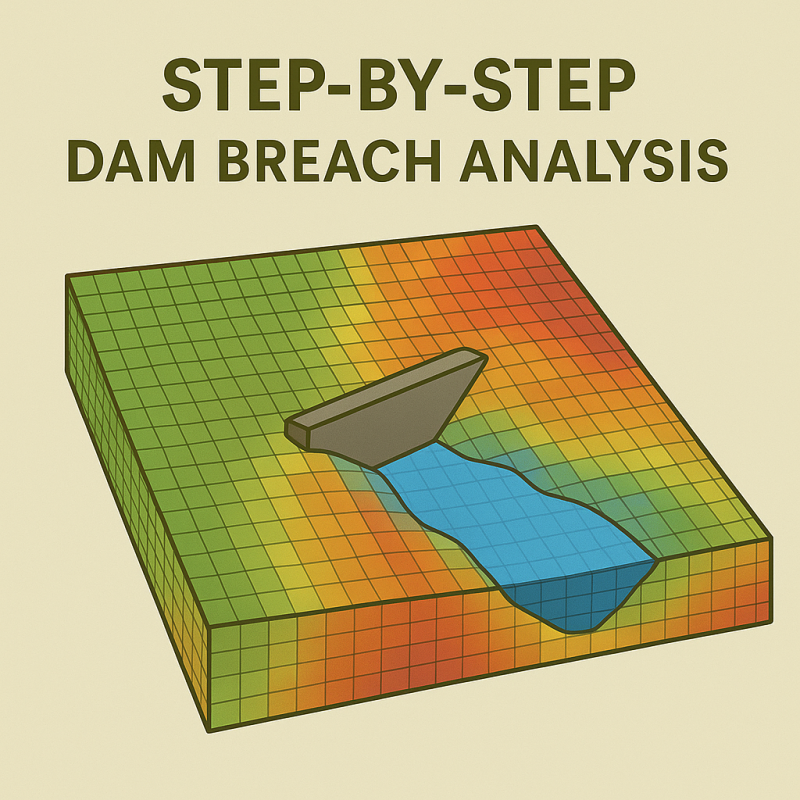
Dam Breach Analysis - Workflow
ArcGIS (to obtain the DEM raster file)
- Import DEMs raster files (follow this tutorial)
- Import shapefile of the dam outlet (follow this tutorial)
- Merge DEMs files in one single DEM, if needed. Usually the 1m resolution DEMs are smaller than, for example, the 10m resolution DEM (follow this tutorial).
- Project the DEM raster file in a specific projection (follow this tutorial).
- Convert the z elevation of the DEM file from meters to feel, if needed. If the DEM has been projected in an american projection, X and Y are measured in feet, but the Z elevation is still in meters and needs to be converted too (follow this tutorial).
- If the raster file is too large, it should be clipped in a smaller squared region centered in the project area (follow this tutorial).
- Export the DEM raster file in TIFF format. It will be uploaded in the HEC-HMS file (follow this tutorial).
HEC-HMS (to obtain the watershed of the dam's outlet)
- Start a new project and create a new basin model (follow this tutorial)
- Import a new terrain file (the DEM raster file that you exported previously as TIFF) and link it to the basin model.
- Import the shapefile location of the dam outlet (follow this tutorial).
- Perform the GIS Preprocessing Sinks and GIS Preprocessing Drainage (follow this tutorial).
- Define the watershed (follow this tutorial).
- Export the watershed shapefile (follow this tutorial).
ArcGIS (to use the PMP tool)
- Import the watershed shapefile.
- Clip the DEM raster to the exact shape of the watershed (follow this tutorial).
- Apply PMP Tool (follow this tutorial).
Excel Spreadsheet (to analyze and organize the PMP results)
Web Soil Survey (to download soil data)
In order to obtain the shapefiles together with a PDF report) of all the soil data of your watershed, you can go to Web Soil Survey.
Follow this tutorial in order to understand how to do it easily.
QGIS (to join attribute table fields)
From the Web Soil Survey you download these files and folders.

Join attribute between the web soil survey shapefile and the tabular data (table) (follow this tutorial).
HEC-RAS (to obtain the E-V Curve)
- Create a new geometry in RAS MAPPER and set the projection (follow this tutorial)
- Import the Terrain (follow this tutorial)
- Modify the Terrain if there is the DEM is showing the presence of water inside the reservoir (follow this tutorial)
- Draw Storage Area around the crest of the reservoir (at maximum elevation points). Use the contour lines of the raster terrain to identify the maximum elevation of the crest (follow this tutorial).
- Compute the Elevation-Volume Curve (follow this tutorial).
Attenzione: se il fondo del reservoir da progetto dovrebbe avere una quota inferiore a quella che leggi nel DEM, vuol dire che il DEM sta leggendo la quota dell'acqua contenuta all'interno. Oppure di sedimenti. Bisogna valutare.
You can also do it in Civil 3D computing volume between surfaces.
Dam Documentation (to obtain the E-D curve for spillways and conducts)
If there is no Elevation-Discharge Curve in any documentation, you have to create an unsteady 2D model in Hec-RAS, and measure the Rating Curve in the spillway (follow this tutorial).
Excel Spreadsheet (to obtain infiltration characteristics)
CURVE NUMBER CALCULATIONS
Use the following Excel Spreadsheet.
Follow this tutorial to fill the spreadsheet.
Average Slope (from ArcGIS)
Some watershed characteristics from HEC-HMS, like the longest flowpath.
HEC-HMS (to insert data for the hydrologic analysis)
- From the basin model, delete the sink that was automatically created when you generated the watershed, and replace it with a reservoir. Then connect the watershed downstream to the reservoir.
RESERVOIR
- Insert the E-V curve of the reservoir: add an Elevation Storage Function paired data.
- Insert the E-D curve of the spillway: add an Elevation Discharge Function paired data.
- Add information to the reservoir (Method, Storage Method, E-V curve, Initial Conditions, ...).
SUB-BASIN
For the Loss Method:
- SCS Curve Number (follow this tutorial to know how to get the parameters values)
- Green and Ampt (follow this tutorial to know how to get the parameters values)
- Initial and Constant (follow this tutorial to know how to get the parameters values)
TIME-SERIES DATA
Depending on the PMP results, you can have 2HR, 6HR (Critically Stacked) precipitations. Local, General and Tropical Storms.
- Import these precipitations manually as time-series data from the excel file (following this tutorial).
METEROLOGICAL MODEL
Create a meteorologic model for every precipitation data that you previously have added (following this tutorial).
CONTROL SPECIFICATION
HEC-HMS (to obtain and analyze the results - hydrograph)
- Sunny Day
- PMP
- 50% PMP
- Brim-Full Storm
- 100-years return period
Excel Spreadsheet (to organize and compare the results)
excel
HEC-RAS (to build the 2D model)
GEOMETRY DATA
- Draw the dam embankment as a SA/2D Connection (follow this tutorial).
- Set the dam embankment geometric characteristics (follow this tutorial).
- Draw the perimeters of the 2D Flow Area (follow this tutorial) downstream with respect to the dam.
- Link the Storage Area to the SA/2D Connection (follow this tutorial).
- Link the SA/2D Connection to the 2D Flow Area (follow this tutorial).
- Set the Dam Breach parameters (follow this tutorial).
- Import the Land Cover Layer (follow this tutorial).
BOUNDARY CONDITIONS
INITIAL CONDITIONS
Aggiungi commento
Commenti